
How-To: Wired Lights Guide
Please read our Wired Lights Safety Policy before purchasing or using our wired light products.
1. Getting Started
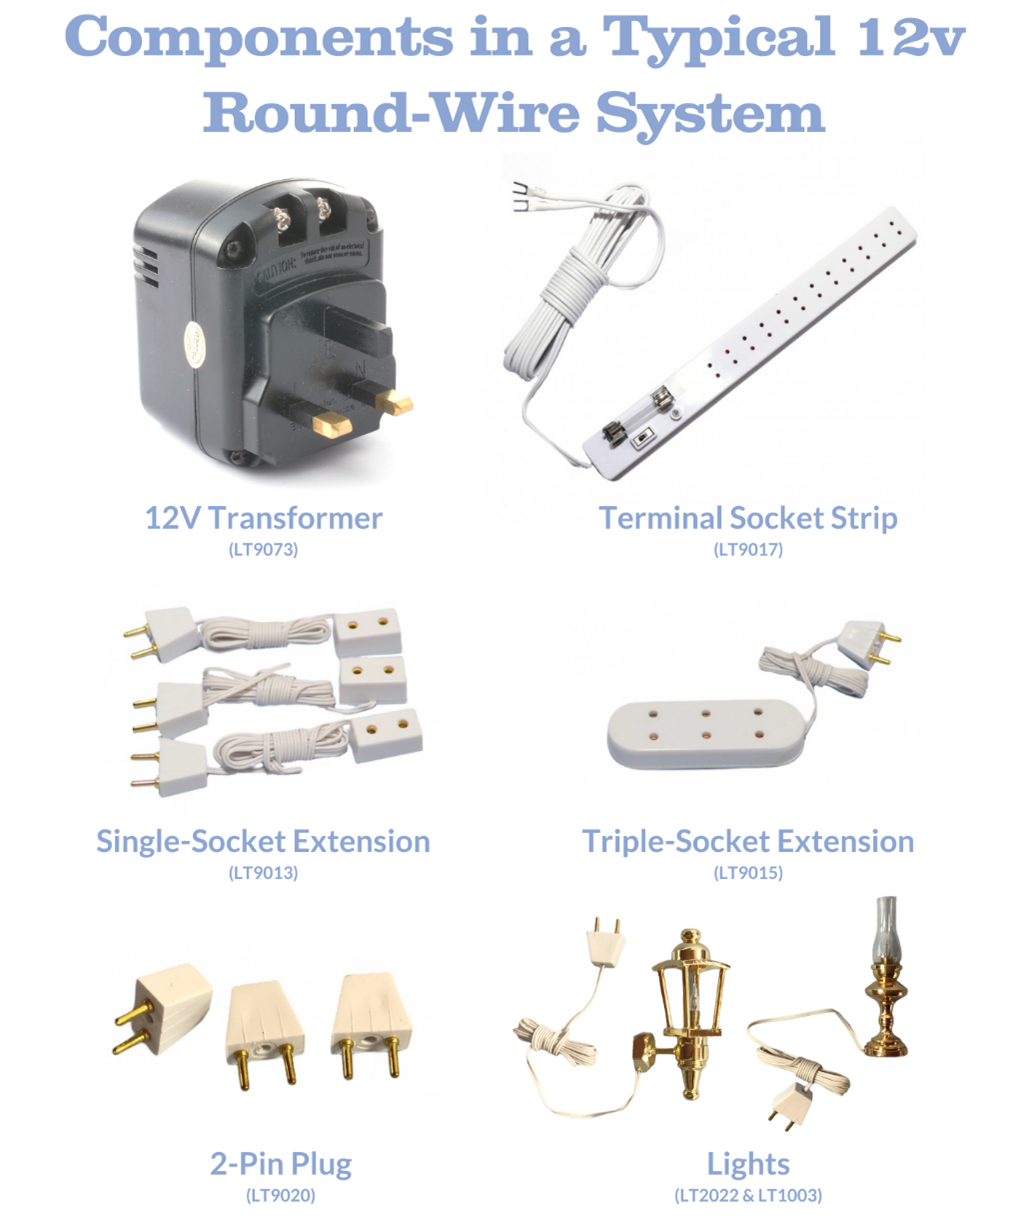
There are many different techniques you can use when adding lights and fires to a dolls house, but for speed, simplicity, and lowest cost, we recommend using the standard round wire system:
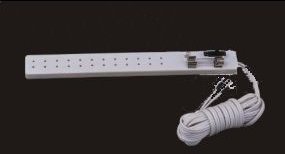
- This comprises a central 'hub' - a terminal strip (LT9017) with 12 sockets, a fuse, and an on-off switch which connects to the transformer with the attached cable. Each light is then plugged into this hub either directly or via extension cables.
- The terminal strip should be mounted near the bottom of the outside back wall of the dolls house using the adhesive tape on the back of the strip. The lead-in wire should be connected to the transformer by using the screw terminals (the spade terminals on the end of the wire can be fitted either way round as most dolls house transformers are AC).
- If you need more than 12 sockets, or if the wires from upstairs lights don't reach the terminal strip, then use one or more triple extension leads (LT9015) which will also fix to the back of the house by adhesive pads.
- The transformer should be sized according to the number of bulbs being fitted (NOT by the number of light fittings). It is perfectly acceptable to use a higher rated transformer than required (though a voltage regulator is recommended if you are using less than about 5 bulbs in total), but do not exceed the recommended rating on a transformer by adding more bulbs than specified. The most popular transformer (LT9073) will run up to 32 bulbs - enough for most 6 to 8 room houses.
Important Safety Note:
Please note the following safety points apply to all the wired lights we stock:
- None of the lights or lighting we stock are suitable for use by children under 14 years of age
- Always fully extend the wire before plugging the light in
- Use with a fast blow fused (max 1.6A) socket strip and a 12volt transformer
- Ensure all bulbs and connections are screwed in tightly
- Test each light individually before use
- Always unplug and switch off all lights and components when they are not being used
- NEVER LEAVE YOUR LIT DOLLS HOUSE UNATTENDED
Please ensure you have read our 12V Wired Lights Safety Notice before purchasing, installing, or using any of our 12v electical products.
MISUSE OF ELECTRICAL PRODUCTS OR FAILURE TO FOLLOW THE SAFETY INSTRUCTIONS AND WARNINGS IN THE SAFETY NOTICE COULD RESULT IN FIRE, ELECTRIC SHOCK, OR OTHER SERIOUS INJURY OR DAMAGE!
2. Connecting the Lights
- Before installing any lights, you should temporarily plug them into the terminal strip, switch on, and confirm they are working. Bear in mind that bulbs often loosen in transit, so may need tightening before they will work (do not over tighten though!).
- A useful technique is to use a plastic straw over the bulb to loosen or tighten it. A straw will get into places a lot easier than fingers, and the natural slippage will help prevent over tightening.
Lights can be grouped into three main types - ceiling, wall, or freestanding - and each has its own technique for installation:
Ceiling:
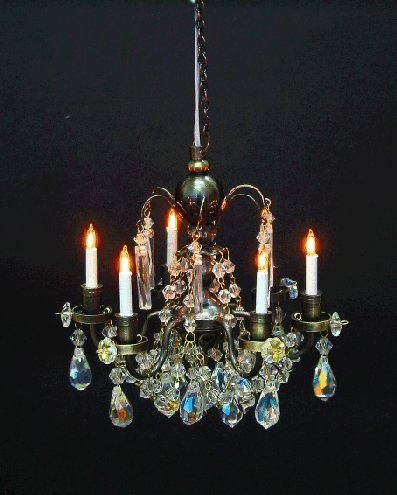
This would include ceiling mounted lamps, hanging lamps, chandeliers, etc.
- To install a ceiling lamp, first paint or paper the ceiling of the room you are fitting it in, then drill a small hole where the fitting is to go.
- In the room above, use the corner of a small wood chisel to make a groove from the hole to the back of the room.
- The final part of the groove can be made with a drill which should also be used to make a hole in the rear wall of the house.
- Remove the plug from the fitting by holding the plug in one hand while using a small pair of pliers to pull out the pins. This will free the wire which has been anchored by the pins and allow the plug to be completely removed.
- Pass the wire through the ceiling hole, along the groove in the floor and out through the back wall. The light can be fixed permanently in place using the adhesive pad supplied.
- Replace the plug by reversing the method to remove it after cutting the wire if necessary for a neat job.
- The floor of the room above can then have carpet or other floor covering applied to completely cover the wiring.
Wall:
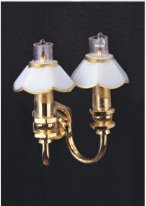
This would include standard wall lamps, fires, etc.
- Where possible fit to the rear wall of the dolls house. Decorate the wall first, then drill a hole for the wire to pass through.
- Remove the plug as before, pass the wire through the wall, fix the lamp in place, and reconnect the plug.
- Fires are generally supplied without plugs, so purchase a pack of spare plugs (LT9020) if you are intending to fit a fire.
You can also fit lamps to an interior wall by using a similar technique to the one with the ceiling lights. Drill a hole through the wall where the light fitting is to be situated, then on the reverse of that wall, using the corner of a chisel, cut a groove from the hole to the back of the house - just don't decorate the other side of the wall until the wiring has been completed.
Freestanding:
This would include table lamps, standard lamps etc.
Use the same technique as with wall lamps, but using the single socket extension leads (such as LT9013) in place of the light fittings. The sockets on these cables can be affixed to the inside wall of the house for the lights to plug into.
3. Finishing the Job
Once the lights have all been fitted, it is a good idea to tidy up the wires on the back of the house. Wires can be held in place with masking tape, and cut to appropriate lengths to fit the terminal strip and any extensions used. Alternatively you can use plastic tubing or channel to route the wires.
Minimum World can supply all your dolls house electrical requirements including a huge range of lights, fires, and accessories at some of the best prices around.